I have always looked at blogs and read tutorials and admired from afar - but today - I decided to do one of my own. A simple one - but none the less I am having a go.
Today, Jess from JuneBug (http://www.facebook.com/JuneBug.boutiquecreations?fref=ts) and I had a photoshoot booked for an upcoming product release in Sarah Jane Studions fabric called "Out to Sea". We wanted to give a cute gift to our amazing photographer, Sharni from Sharni Tait Photography (http://www.facebook.com/sharnitaitphotography?fref=ts) so we popped together some goodies and I photographed how I put them together. All in all - some very cute and easy wrapping ideas!
Here goes!
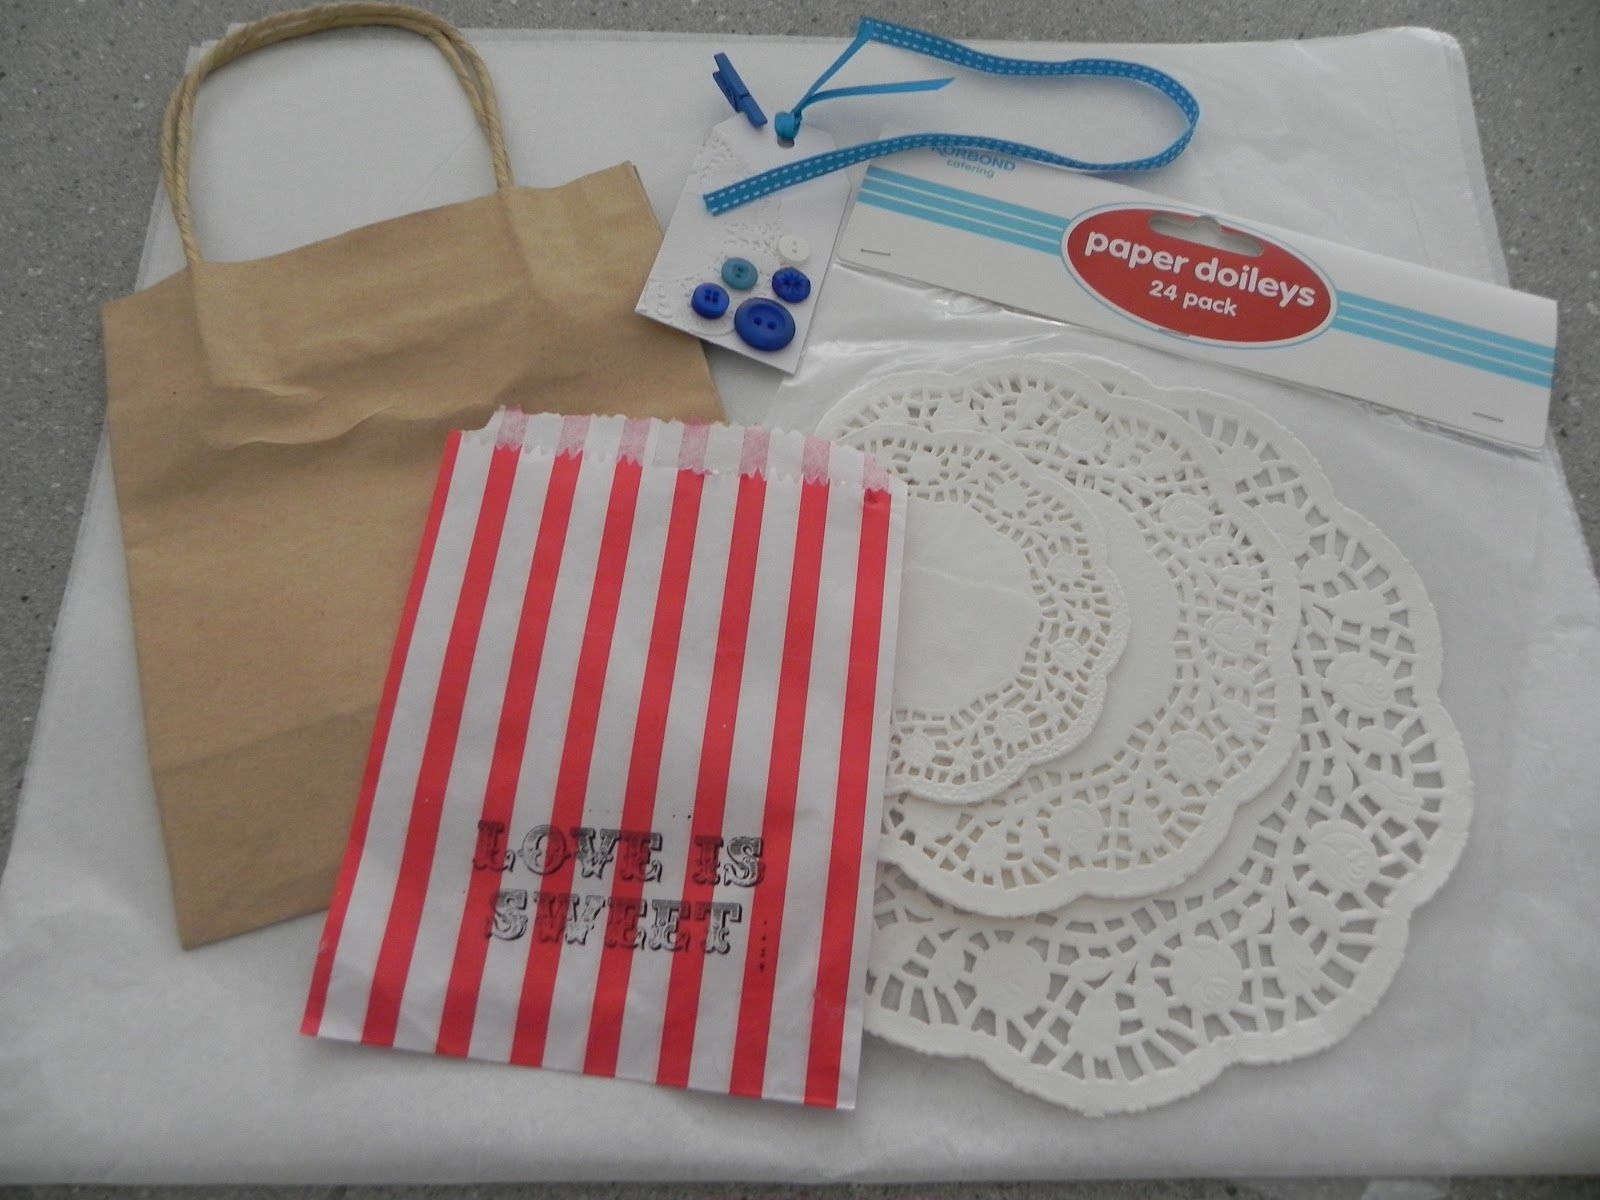
Ok, firstly I laid out my wrapping! I used; basic white tissue, brown recycled paper gift bag, packet of paper doileys, red goodie bag from Bring out the bubbly (http://www.facebook.com/pages/Bring-out-the-Bubbly/216731338389517?fref=ts) and button gift tag from Caspa Creations (http://www.facebook.com/pages/Caspa-Creations/261452717230480?fref=ts)
Next I laid out my gifts. I had some yummo jelly beans (I removed from packet and put them into a reseal bag so they look nicer), A little zip bag I made (sorry for the inperfect zipper sewing Sharni!), a cute handmade flower brooch from a lovely friend (can be found here - http://www.facebook.com/OhBabyAustralia?fref=ts) and some Ruby&Mud goodies (hair band, hair clips and earrings can be purchased here - www.hand-made.com.au/rubymud)
I love all these little things!
I put all the items (except the jelly beans) into the lined zip pouch (I used this tutorial to make it - http://www.noodle-head.com/2012/06/open-wide-zippered-pouch-diy-tutorial.html).
I zipped it shut then moved onto packaging the jelly beans!
I popped the bag of treats into this little hand-stamped treat bag and sticky taped the sides at the back to reduce the width of the bag. I think it looks neater!
Appropriate stamping too! (Thanks Elena!)
I then wrapped the little zip pouch with goodies inside in two large pieces of tissue folded in half (so it was 4 sheets thick. I secured with tape but you could use bakers twine too - I didnt have any!
Next, I picked out a small doiley from the pack and looped some tape around my finger to make it double sided. I stuck it on the back of the doiley (hard to see the tape here but look close!) and then secured the doiley to the bag.
If it was a gift for a child I would use more tape for sure!
I then popped the two gifts inside the bag! (Pretty simple but had to share this step as the pic is too cute looking down upon a cute gift and some yummy jelly beans = couldnt resist)
Next I used a ribbon scrap to tie the bag handles together. Pretty cute!
I then jotted a small "Thank-you" message from Jess and I onto the back of my cute button gift tag....
And then attached the cute button tag to the bag using a small blue craft peg (that I have had in a little packet in my craft box for years along with other things I am "re-discovering").
Simple, cute, fun, quirky, easy!
I know its a basic tutorial that may have not been showing you anything super dooper - but I find wrapping gifts fun and relaxing.. Like gift-wrapping therapy for the soul! I did treat myself to doing this during nap time (Mr 21mths is FULL ON!!) so it was a pleasure to do - not a mad rush like my usual gift wrapping!
Anyway - enough of my babble.. I hope you enjoyed this, learned something (*wishful thinking*) or at least enjoyed the pretty pictures! Pop over and visit the suppliers pages too - they are lovely and I am sure have lots of stock for purchasing!
Visit me anytime here on the blog or at www.facebook.com/rubymud
Until next time, xx Holly!